Watch the full tutorial
Transcript
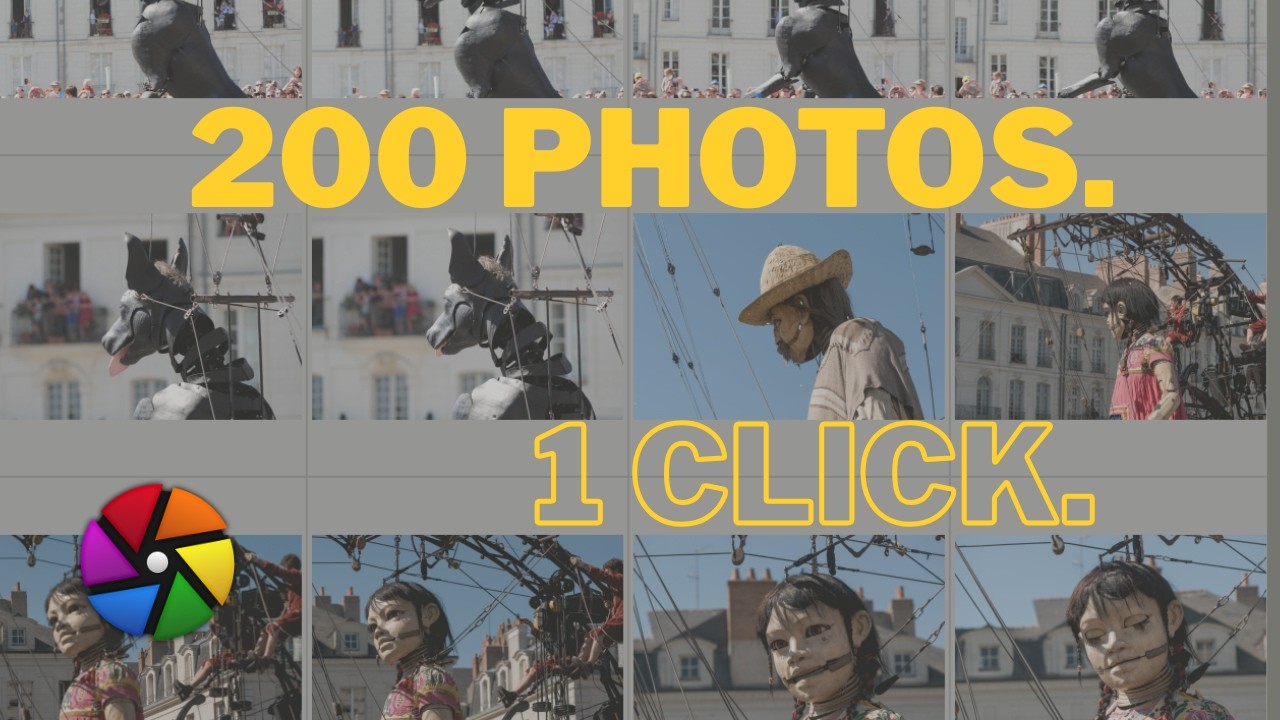
Hi everyone, happy to be back today for a new video and this time as you see we are not going to look at one picture, but we’re going to look at multiple pictures and I think it’s a common problem for you guys. You went for a session, let’s say here a parade, you may end up with 200-300 pictures. You want to go and treat all of them, you have made some cutting maybe before but then you need to adjust all of them. If you have the same type of condition here, I stay more or less at the same position, I change a little bit but let’s say you have a shooting where you are in the studio, the light is almost the same every time. You can just think about how can you edit one and then apply for the rest and that’s how I will show it to you right now. For the Lightroom users, this is the sync settings but I think right now as usual Darktable is doing it a little bit differently and it’s giving you, to my opinion, a little bit more control about what you can do with that. With that said, let’s jump into how do we do it. So for example, I already edited one image that will enable me to show you one sync first on the left panel here. You have a panel, a module that is called history. If you just look at the history, basically it’s whatever you have done on the image when you edited it. It can be thousands of different steps, usually it starts with I think until this nine or ten steps, then it will, I would say, add it when you add those your steps. So here it’s come from, I would say, default by default when you open your image. And then this is what I’ve done to the image, I just did like a few steps just for the sake of this demonstration but the history can be very long. So one thing that you can use here is what they call compressed history stack. So basically it’s create the minimal path to how to recreate and regenerate this image. So if you have tricked your exposure module ten times, it will just clear it out and go from the default value to the value that you want for the exposure and same for all the other parameters. Here it’s quite clear and it’s quite clean so there is no need to compress this history. Once again it will just save a little bit of time but it’s not a deal breaker on that. So here you are doing one edit based on this edit. If I go back to Light Table, I will save you a lot of time now and you can use this time to watch my video guys and it will save you your whole evening. You can just select the image that you edit and if you go on the right part of Light Table and again I repeat we are in Light Table here, you have the possibility to Selective Copy or Copy your history stack. So Selective Copy, I will show it just after, Copy is very basic, it copies all your history stack to apply it to another image later on and I will show you how to do it. Or the Selective Copy is very simple, when you click Selective Copy here it will let you choose which module to include. So for me this is very interesting if you are in the same light conditions but you don’t want to apply the lens correction for example because you changed your lens in the mean time or let’s say you know that your color balance changed a little bit but your exposure shouldn’t have changed so this is how you can just select which part to copy. With that said usually what I do is I copy all the stack and I will show you how then I can apply which module I want on my other images. So for me it’s really something that is powerful because if I show you right now I have here I will select all my images here so you see 21 images selected on the 21. I will just copy those the story stack before first and then once again select all the images, all the 21 images will be selected here and then I have two options here, I have the Selective Paste or the Classical Paste. The same as Selective Copy and the Classical Copy, Selective Paste and Paste are basically letting you choose so if I click Paste it will paste everything. If I click Selective Paste you see it will enable me to select whichever module I want to apply. Again it’s only my take but I would strongly advise you to do a full copy and then a Selective Paste based on maybe different condition of your images. So with that said for the sake of the demonstration I will just paste on everything and you see it’s working on all the thumbnails depending on how many images you have. You see it took me maybe like one second or two seconds so I will save you for 200 images like for me even if you spend 10 seconds or maybe 20 seconds on an image on 200 images to like here maybe 5, 10 seconds if you have a full stack of images and maybe a computer that is not fast so fast but you see it’s very very fast and for me the main difference between dark table here and lightroom is that you can choose whatever you want so this is very important because usually I may not apply it to all my images but I would choose let’s say 25% of my shooting that will have different lighting I may not paste all the modules I may treat it a little bit differently but 80% of my lighting or 75% in this case if I choose 25 before 75% of the shooting I will apply full module like that and the rest I will treat them differently but at least I will have safe time on the other ones. Just for your demonstration here if I double click here you see the same histories and before so this is really a basic copy paste of all your history all your images and you see also that it may not be perfect I may need to tweak it once again but at least it did 80% of the job already on the image and I can just come and tweak the different things. With that said here it’s on one shooting if I go back to light table I will demonstrate it to you later on guys but you can also create from that what we called a style and if I go back here on this image I can create a style which is more or less the same approach but that can be reused later on on a different role that you can name it you can do different things with that but I will do a full video on that a little bit later on that will help you also to understand a little bit more so here just to conclude on this quick video you saw that in a couple of minutes I’ve been able to edit 21 images I could have been 200 300 it would have been already also quite fast and I would encourage you to use these type of things on the next video guys that will come very soon also I will share with you in the same approach when you have 200 images let’s wedding this parade you want to share your image quickly I will show you how you can mass export your images with some watermark with this type of editing already for let’s say a print or web display so how we can really have the accelerated workflow for these 200 pictures but please stay tuned for the next episode on that thank you very much for watching and if it saved you some hours of editing please don’t hesitate to comment leave a thumb up and of course subscribe I would really appreciate it thank you very much guys and see you soon