Watch the full tutorial
The Export Module
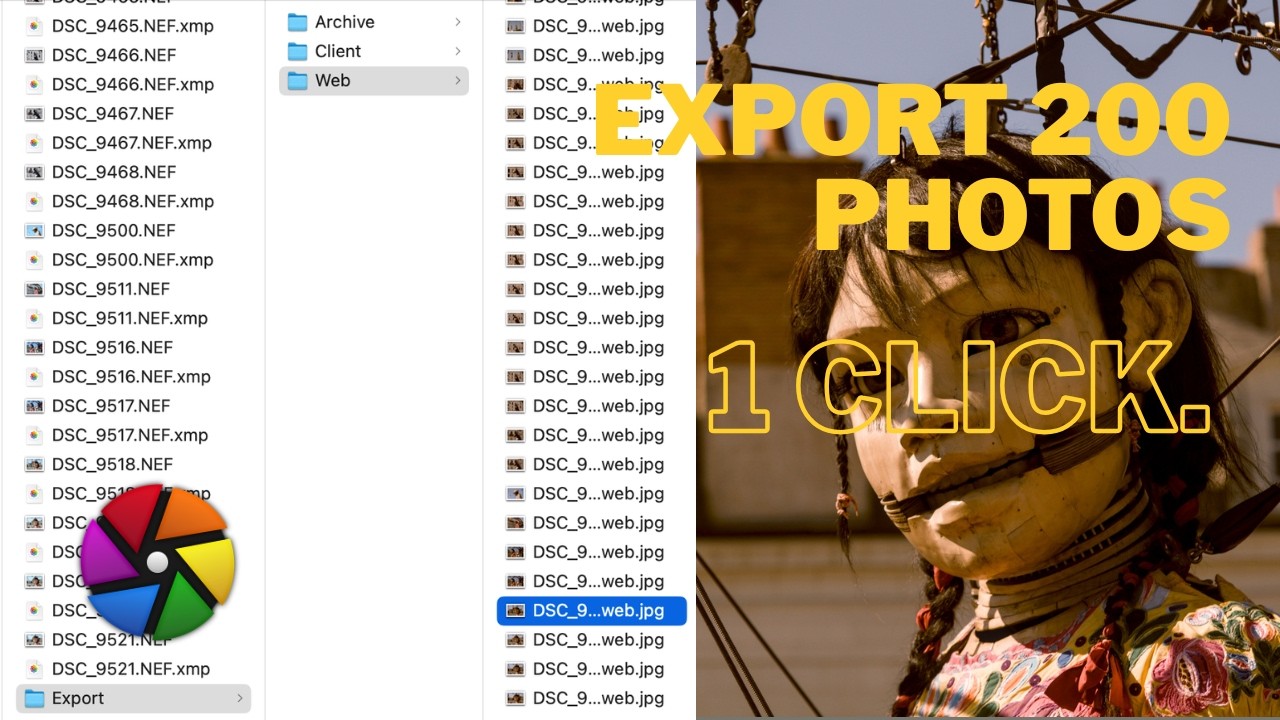
The Export module lives in the bottom right of Lighttable. Select all your images, configure your settings, hit Start Export — Darktable processes every image without you touching them one by one.
Here’s what each section actually does and what to watch out for.
File Naming and Storage
The Target Storage field controls where your files go and what they’re called. You build the path using parameters pulled from your files — folder, date, sequence number, and so on. A downloadable cheat sheet of all available parameters is linked in the video description.
A practical example for web exports: $(FILE_FOLDER)/export/web/$(FILE_NAME)_web
For archive: $(FILE_FOLDER)/archive/$(YEAR)/$(MONTH)/$(DAY)/$(SEQUENCE:3)
Set this once per preset and you never think about it again.
Format and Quality
Choose JPEG, PNG, or TIFF depending on intent:
- Web/social: JPEG at quality 90
- Client delivery: JPEG at quality 50–70 (keeps file sizes manageable for previews)
- Archive: TIFF at full quality (preserves all edit data; also embeds the edit history into the file as a backup)
Global Options — The Tricky Parts
Resizing: Set your maximum width explicitly. For web, 1920px is a reasonable ceiling. Leave the other dimension at 0 to let Darktable calculate it proportionally.
Allowable Scaling — always set to No. This is the most common source of unexpected results. If scaling is enabled and your maximum dimension is larger than an image’s actual size, Darktable will upscale it — resampling in ways you can’t control. Keep it off unless you have a specific reason to upscale.
Colour Profile: Match to your export intent. sRGB for web and social. For print, use the profile your print lab specifies. Getting this wrong is the most common reason colours look different on your phone or in print versus on your editing screen.
Batch Watermarking Without Touching Every Image
This is the part that saves real time. The naive approach — activating the watermark module in Darkroom for every image — doesn’t scale. Here’s the correct workflow:
1. Set up your watermark in Darkroom Activate the watermark module, position your logo or SVG parametric watermark where you want it.
2. Save it as a Style
In the History panel, create a new style. Select only the watermark module — nothing else. Name it something clear like Watermark Logo.
3. Deactivate the watermark module Your images are unchanged. The style is saved separately.
4. Apply the style at export time In the Export module, find the Style field and select your watermark style. Critically: choose Append History, not Replace History. Append adds the watermark on top of your existing edits. Replace would wipe all your edits and apply only the watermark — a painful mistake to make on 200 images.
The watermark is applied temporarily at export only. Your source files and edits are untouched. Next time you export without the style selected, no watermark appears.
Export Presets
Save each export configuration as a preset — web, client, archive, archive PNG. Once saved, they appear at the bottom of the export panel.
The real power: Batch Export across multiple presets. Select several presets at once and hit Start Export. Darktable runs through all of them sequentially — web version, client version, and archive TIFF all generated from the same selection of images in one go. Walk away and grab a coffee.
Common Mistakes to Avoid
Watermark always appearing: The style-based watermark is temporary — it only applies when you select the style in the export panel. If you want it on every client export, save a dedicated client preset that includes the style. If you don’t select the style, no watermark appears.
Upscaling on: Leave Allowable Scaling set to No. Know your image dimensions before exporting and set your target size accordingly.
Wrong colour profile: Always set explicitly. Never leave it on image settings — if you open a file from a different camera or a friend’s image, the profile will change silently and your export colours will be wrong.