Darktable Basics: The Pipeline & Scene vs Display-Referred Explained

Darktable Basics: The Pipeline & Scene vs Display-Referred Explained

Watch the full tutorial Why This Matters Before Anything Else When you first open Darktable it can feel overwhelming — there are dozens of modules and it’s tempting to jump straight into colour grading or tone mapping. But if you skip understanding the pipeline and the difference between scene-referred and display-referred processing, you’ll hit frustrating, hard-to-diagnose problems later. This is the foundation. ...

September 1, 2026 · 3 min · Marien
Watermarking in Darktable: Image, Parametric, and Double Watermarks

Watermarking in Darktable: Image, Parametric, and Double Watermarks

Watch the full tutorial Three Ways to Watermark in Darktable Darktable’s watermark module covers three distinct use cases: Image watermark — your logo or any PNG file Parametric watermark — SVG-based text that pulls live data from your image EXIF Double watermark — combining both at once Part 1: Image Watermark (PNG) To use a logo or image as a watermark, place your PNG file in the Darktable watermarks folder: ...

August 27, 2026 · 3 min · Marien
Kodak Portra 400 Look in Darktable — No LUT, No Plugin

Kodak Portra 400 Look in Darktable — No LUT, No Plugin

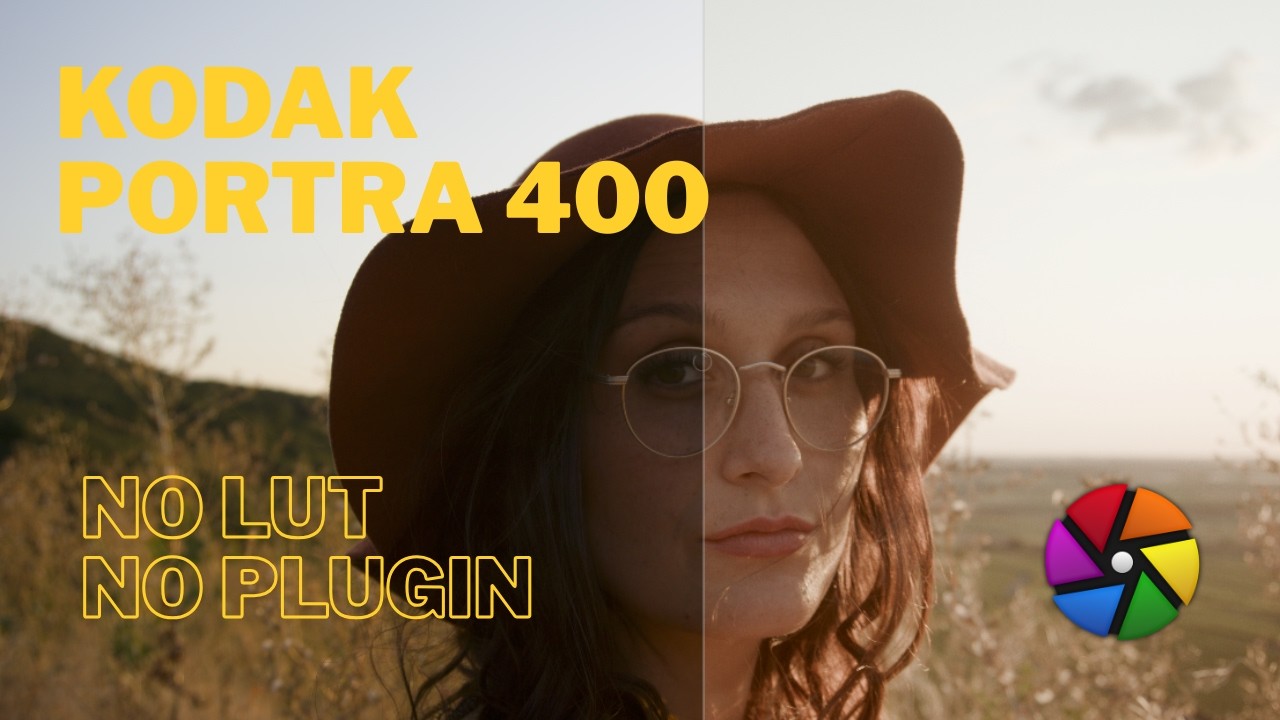
Watch the full tutorial What Defines the Portra 400 Look? Kodak Portra 400 is one of the most beloved film stocks in portrait photography — warm, flattering skin tones, restrained but not flat saturation, and a characteristic soft highlight rolloff that never feels harsh. Three things to nail: ...

August 18, 2026 · 4 min · Marien
Darktable Batch Export: Rename, Resize, Watermark 200 Photos at Once

Darktable Batch Export: Rename, Resize, Watermark 200 Photos at Once

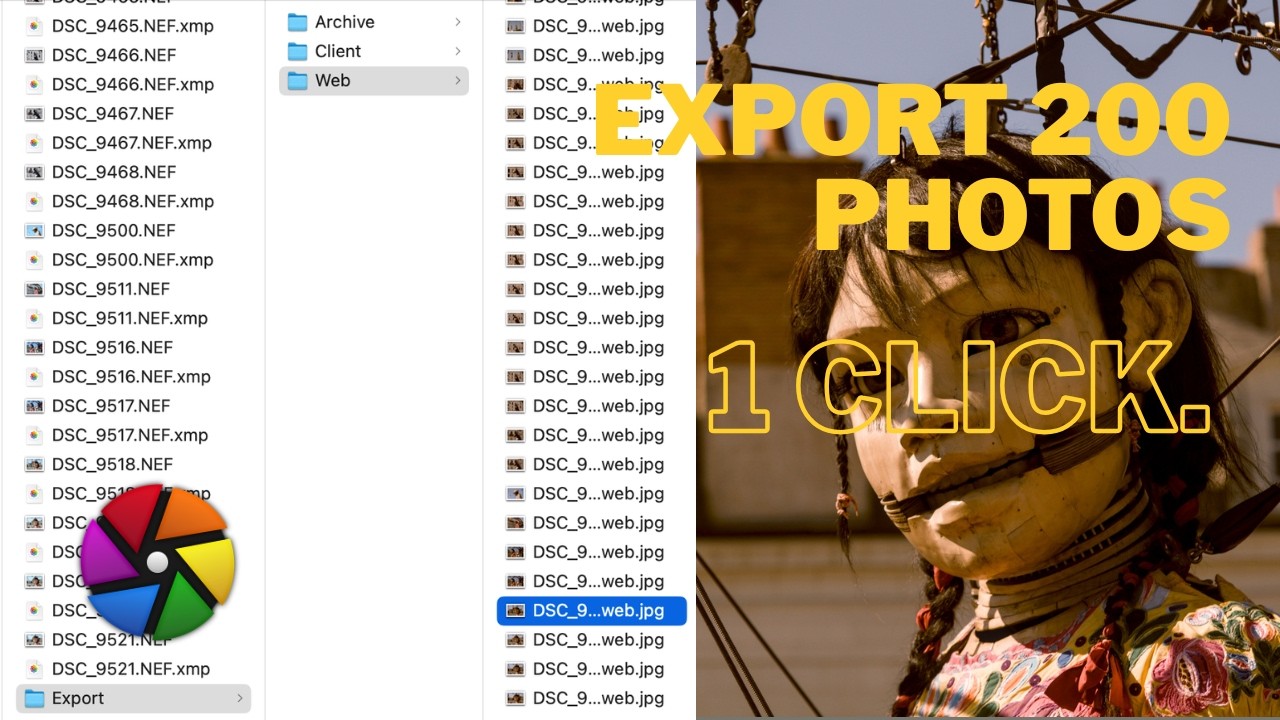
Watch the full tutorial The Export Module The Export module lives in the bottom right of Lighttable. Select all your images, configure your settings, hit Start Export — Darktable processes every image without you touching them one by one. Here’s what each section actually does and what to watch out for. ...

August 5, 2026 · 4 min · Marien
Edit 200 photos

Edit 200 photos

Watch the full tutorial Transcript Hi everyone, happy to be back today for a new video and this time as you see we are not going to look at one picture, but we’re going to look at multiple pictures and I think it’s a common problem for you guys. You went for a session, let’s say here a parade, you may end up with 200-300 pictures. You want to go and treat all of them, you have made some cutting maybe before but then you need to adjust all of them. If you have the same type of condition here, I stay more or less at the same position, I change a little bit but let’s say you have a shooting where you are in the studio, the light is almost the same every time. You can just think about how can you edit one and then apply for the rest and that’s how I will show it to you right now. For the Lightroom users, this is the sync settings but I think right now as usual Darktable is doing it a little bit differently and it’s giving you, to my opinion, a little bit more control about what you can do with that. With that said, let’s jump into how do we do it. So for example, I already edited one image that will enable me to show you one sync first on the left panel here. You have a panel, a module that is called history. If you just look at the history, basically it’s whatever you have done on the image when you edited it. It can be thousands of different steps, usually it starts with I think until this nine or ten steps, then it will, I would say, add it when you add those your steps. So here it’s come from, I would say, default by default when you open your image. And then this is what I’ve done to the image, I just did like a few steps just for the sake of this demonstration but the history can be very long. So one thing that you can use here is what they call compressed history stack. So basically it’s create the minimal path to how to recreate and regenerate this image. So if you have tricked your exposure module ten times, it will just clear it out and go from the default value to the value that you want for the exposure and same for all the other parameters. Here it’s quite clear and it’s quite clean so there is no need to compress this history. Once again it will just save a little bit of time but it’s not a deal breaker on that. So here you are doing one edit based on this edit. If I go back to Light Table, I will save you a lot of time now and you can use this time to watch my video guys and it will save you your whole evening. You can just select the image that you edit and if you go on the right part of Light Table and again I repeat we are in Light Table here, you have the possibility to Selective Copy or Copy your history stack. So Selective Copy, I will show it just after, Copy is very basic, it copies all your history stack to apply it to another image later on and I will show you how to do it. Or the Selective Copy is very simple, when you click Selective Copy here it will let you choose which module to include. So for me this is very interesting if you are in the same light conditions but you don’t want to apply the lens correction for example because you changed your lens in the mean time or let’s say you know that your color balance changed a little bit but your exposure shouldn’t have changed so this is how you can just select which part to copy. With that said usually what I do is I copy all the stack and I will show you how then I can apply which module I want on my other images. So for me it’s really something that is powerful because if I show you right now I have here I will select all my images here so you see 21 images selected on the 21. I will just copy those the story stack before first and then once again select all the images, all the 21 images will be selected here and then I have two options here, I have the Selective Paste or the Classical Paste. The same as Selective Copy and the Classical Copy, Selective Paste and Paste are basically letting you choose so if I click Paste it will paste everything. If I click Selective Paste you see it will enable me to select whichever module I want to apply. Again it’s only my take but I would strongly advise you to do a full copy and then a Selective Paste based on maybe different condition of your images. So with that said for the sake of the demonstration I will just paste on everything and you see it’s working on all the thumbnails depending on how many images you have. You see it took me maybe like one second or two seconds so I will save you for 200 images like for me even if you spend 10 seconds or maybe 20 seconds on an image on 200 images to like here maybe 5, 10 seconds if you have a full stack of images and maybe a computer that is not fast so fast but you see it’s very very fast and for me the main difference between dark table here and lightroom is that you can choose whatever you want so this is very important because usually I may not apply it to all my images but I would choose let’s say 25% of my shooting that will have different lighting I may not paste all the modules I may treat it a little bit differently but 80% of my lighting or 75% in this case if I choose 25 before 75% of the shooting I will apply full module like that and the rest I will treat them differently but at least I will have safe time on the other ones. Just for your demonstration here if I double click here you see the same histories and before so this is really a basic copy paste of all your history all your images and you see also that it may not be perfect I may need to tweak it once again but at least it did 80% of the job already on the image and I can just come and tweak the different things. With that said here it’s on one shooting if I go back to light table I will demonstrate it to you later on guys but you can also create from that what we called a style and if I go back here on this image I can create a style which is more or less the same approach but that can be reused later on on a different role that you can name it you can do different things with that but I will do a full video on that a little bit later on that will help you also to understand a little bit more so here just to conclude on this quick video you saw that in a couple of minutes I’ve been able to edit 21 images I could have been 200 300 it would have been already also quite fast and I would encourage you to use these type of things on the next video guys that will come very soon also I will share with you in the same approach when you have 200 images let’s wedding this parade you want to share your image quickly I will show you how you can mass export your images with some watermark with this type of editing already for let’s say a print or web display so how we can really have the accelerated workflow for these 200 pictures but please stay tuned for the next episode on that thank you very much for watching and if it saved you some hours of editing please don’t hesitate to comment leave a thumb up and of course subscribe I would really appreciate it thank you very much guys and see you soon ...
August 1, 2026 · 7 min · Marien
Duplicates

Duplicates

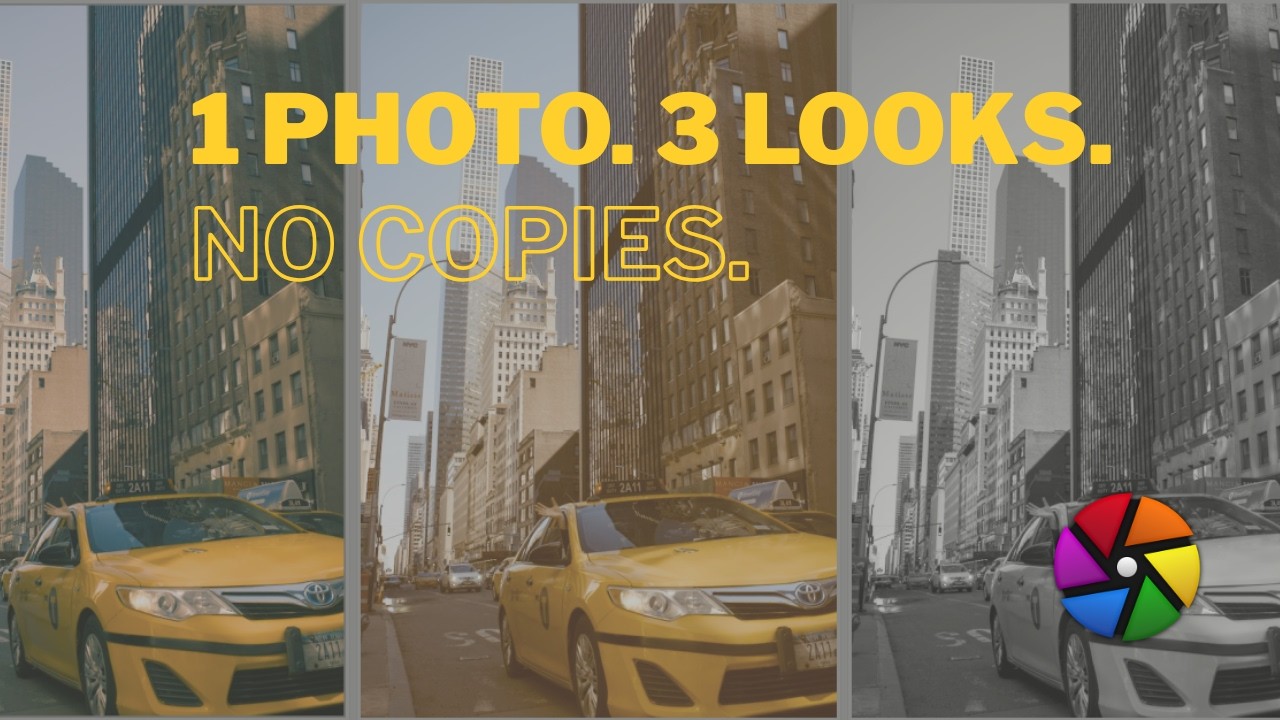
Watch the full tutorial Transcript Hi everyone, happy to be back today for a new video and this time we’re going to look at Light Table mainly and here you see I have four complete different edits of an image. It’s actually one raw file and there is no copy on your disk. It’s like I think it lied through me, it’s called virtual copies, here it’s called duplicates and I will show you how to make it but also I will show you how to manage it so that your light table is not becoming a complete mess. With that said I will first go through how we do it and then I will bring you through three I would call them traps that I’ve seen on the different forums, three things where people will trip and may have some issue so stay tuned for that and especially for the third one because I think the third one is really really powerful. With that said once again how do you start from one image and duplicate it and have different type of edit on it so for me it can be done in various stages, it can either be done in light table or in the dark room directly. I would strongly advise you to do it in the dark room part because it would be easier for you then to manage how to do it and then we would see how to name it also and to find your way back. So if I go on this very first image you see on the left side you have the snapshot that you may already have discovered to compare two different edit or two different images. There is one part that is called duplicate manager. Here for the sake of this video of course I already created the different duplicates but I will walk you through how to do it, it’s very simple. So here on the duplicate manager if you open it you have here on the bottom two options. So the first option is duplicate from where you are so let’s say you are on original image then you can just duplicate it will take whatever you have done previously in the image and then duplicate it to a new edit. If you take original as said it will create a so called virgin duplicate where there is nothing more than the standard module activated when you import a new picture. You can use both actually I would tend to use the first one because I would make the basics here, exposure, most probably tone mapper or all these type of things before playing like with color balance like we did on the previous video or on the color balance RGB or the black and white edit. So I would strongly advise to go through these duplicates so at least you have your I would say different previews edit. One thing that is very important for me is to really tidy up what you are doing so you can see that if I had another duplicate here based on this red filter for example if I click on red filter duplicate it will just create a duplicate of this red filter as you will see so here it creates a new one but then for me here the important part is you need to name it so for me for example let’s say I modify it and I go through for example let’s find actually my color calibration part so I want to go to color calibration I want to modify maybe and go on the green part you see that it change the image of course I will not do again my video around black and white but if you are interested by those presets just don’t hesitate to click here on the top right I will link it and then you need to name it green filter here so that you know exactly where you are and to show you last one things and to demonstrate it so here I validate it if I want to go let’s say back here and I can then click to original and then you will see that my black and white image will become once again the original one so it’s the let’s call it virgin one so you see the difference if I click duplicate and if I click the original one back to light table as I told you we will sit mainly on light table here if I just extend the number of you that we have you see I have six different edit here of the same image it can become very very messy if you start to duplicate here in your collection a lot of different images so one thing that is not activated by default and honestly don’t ask me why it’s the grouping part so if I go back to this function here and I will not see the grouping part maybe this one this view will be better for everyone and I would not see the grouping part unless I tick on the top right here this grouping button and then once I have done that you can see that you can sorry once again you can of course go through the image here one by one and if you are back on light table you have a button that is showing normally and here of course for the demonstration is not showing it you have here the name of the edit and then you have a button that you can where you can just group here and you see the different image that you have you can just group them in one so this is also something that is very important if you do not tick it here you see it will never allow you to do that and you will just click and it will not change everything you need to click first on the top right and then you need to click on this part so this grouping part for me it’s something that it’s very important and one last thing here is that you can of course create as many versions as you want as many duplicates as you want but as I said I would strongly advise you to name them because right now if I just go there you see that if I over above the image I have the name here it will not come as default how to do it it’s very simple you go on your dark table settings here you go on the light table here tab and on the on the pattern for the thumbnail overlay text you had the dollar version dot name and the bracket I will copy it also in the description so for everyone you can just copy paste it from the description apply it to your image this is also for me something that is very useful for the whole workflow so at least you know where you are and you know on what you are working on I hope this part is very clear for you guys one last thing that is also important here for me if you name them and again I insist on naming them once again if you go back to darkroom if you just export them on the export you can also add here the file name but you can also add the same versioning version name so that when you export it it will come with the name so it will be very easy for you to just know exactly what you have exported with that said I told you are I will show you three I would say basic trap that we can work on so once again the first trap is it’s not creating three different or here in this sense five different version of or six different version of your image each time it’s one sidecar that it’s created and that is containing all your edit so the very advantage of that it’s that it’s not linked to dark table as such is linked to your xmp to your sidecar the version so if you want to backup at one point your images feel free or remember sorry to backup not only your raw file but also your different xmp because it’s where your edit are sitting and it’s where your duplicate are setting the good thing about that also is that you are not overloading your file with five times the different image you are just having one time the row and then you have xmp sidecar file that are very small and that are just adding up and it’s not it’s not trapped with the different would say megabyte piling up and piling up the second part is sometime when you edit a photo and when you want to really important image you need to also remember about really important your xmp file your sidecard into the image otherwise it may get lost and you would feel like the duplicate is completely lost no if you remember the trap one the edit is on the sidecard so you need to reimport the sidecard if it’s not done automatically and how to do it it’s very simple and it will be done quite quickly you go back and I as I told you we are sitting mainly on the light table I would say part today of a dark room of dark table sorry here you can load the sidecard file you can load it you look for your different sidecard and it’s allow me also to show you that for the same version of the image I have here for the 9184 I have five different xmp file so this is where your duplicate are sitting so if at one point you reimport the image and another dark table there is something that went wrong you can reimport also the different xmp so that you secure that you have the different version of your image for the third trap that I was speaking about and that I think for me the most powerful one is that basically here you may recognize the image from a previous agx video here I duplicated my image I deleted the other one let’s say I did it by mistake let’s say there is some issue here you see my history is the basic history when you just import your image one good thing about dark table is if you already exported your image as a gpeg or as a tiff file you can use it to recover your history and how to do it it’s very simple you use the same functionality that’s loaded the sidecard file that I’ve shown you previously if you lost your duplicates and you just click there choose all file instead of just the sidecards and you see that here I can select xmp of course file but I can also if I go to my dark table export you can also use an export so you see I exported the image as a gpeg just for the sake of the demonstration if I click on open of course I’m not opening the image as such and I’m still working on the raw file but it will bring up all these stories so you see that the image completely changed here and if I go to darkroom and if I go to history you see that it brought up all the history of everything that I did on the image so this is for me the really big game changer for this dark table for two reasons first of all it will save you history if you did something wrong if you did something completely messy and one thing to bear in mind though gpeg is limited in term of what quantity of data it can empty into this file so it’s only 64k but you see for a standard edit like that with yeah 60 or even more 72 steps it’s working it can be limited for the let’s say masking or this type of things where it can have a lot of data if you want to see you that you have all the data inside you should save it as a tiff file and in the tiff file there is no such limitation and I think it’s by the way good I would say practice if you want to save your file has a high quality file to use tiff if you have the space for it so you can have the row but you can have also your edit there and you can really import your edit if you need it so this is one for me of the big things of this tip and the second tip that is or the second part of the tip that it can be interesting to also use is for example let’s say you share a gpeg file with someone else that is using dark table you can just import it and see all your edit or if you are on pixelus forum and that you are on the play row section you can also if someone export it in gpeg get all the different step of edit so for me it’s very very powerful with that said it’s rounding up this duplicate part for me it’s a very powerful function here once again as everything in dark table spend a little time to play with it to understand it it may not come as a snap like that you need to a little bit work for it but once you control it I think it’s very powerful it’s avoiding you to have a I would say a lot of duplicate image with a lot of data here an xmp file is really small then for me mentally speaking I would I would say theorize it as you have the row file is your negative image and then you have the xmp’s that are your different recipe that you apply here for those of you that are shooting analog it may resonate a little bit more but it’s really this way so you have you keep always your negative and you can work on the different recipes without exploding your hard drive without multiplying the data that you have so I think it’s very interesting especially for example for those of you that I have played with the color balance rgb video here and that I may have download my summer look that I will also link here this is something that could be useful to test the different looks on the image compare them side by side and if you just delete one without having a cramped dark table with that said thank you very much guys for watching I hope you enjoyed feel free to leave some comments of course to like and subscribe and stay tuned for the next video ...

July 30, 2026 · 12 min · Marien
Darktable 5.6 Colour Harmonizer — What It Does and When to Use It

Darktable 5.6 Colour Harmonizer — What It Does and When to Use It

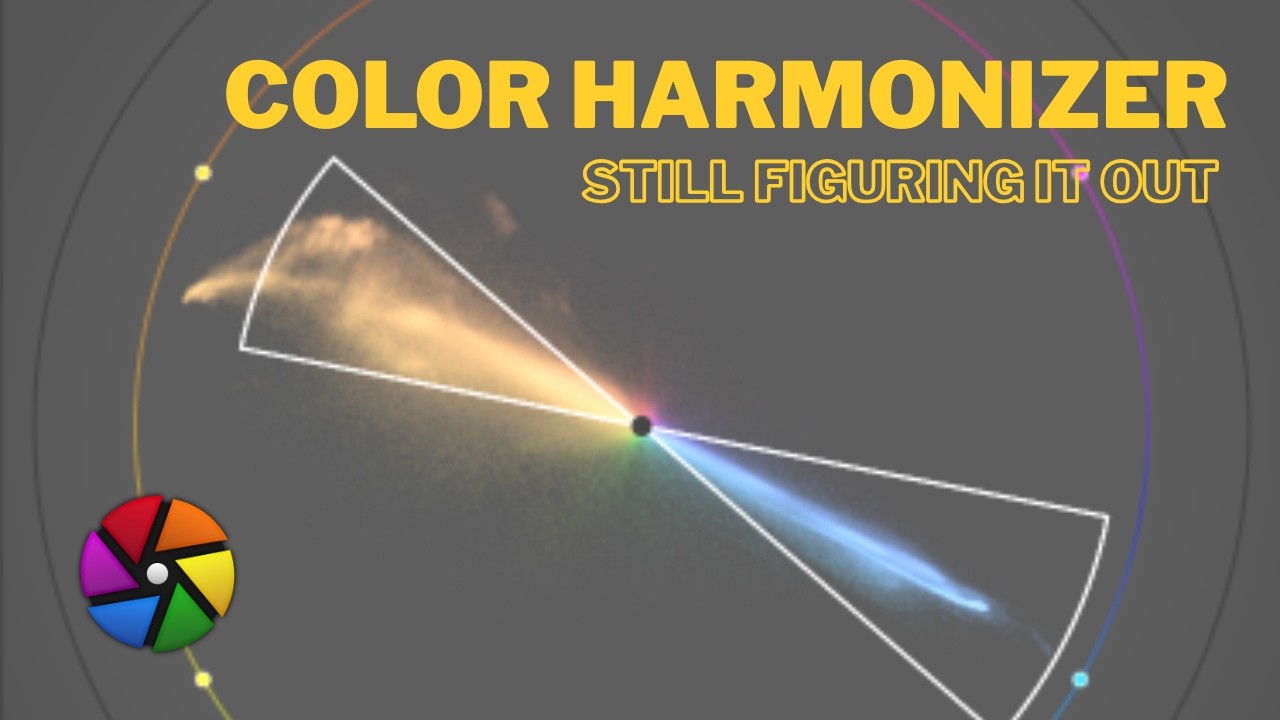
Watch the full tutorial What the Colour Harmonizer Is — and Isn’t The Colour Harmonizer is a new module in Darktable 5.6, born from a discussion on the Pixls.us forum. Before anything else, it’s worth being clear about what it does — because it’s easy to confuse with Colour Balance RGB. ...

July 24, 2026 · 4 min · Marien
Fuji Classic Chrome in Darktable

Fuji Classic Chrome in Darktable — no LUT, no plugin

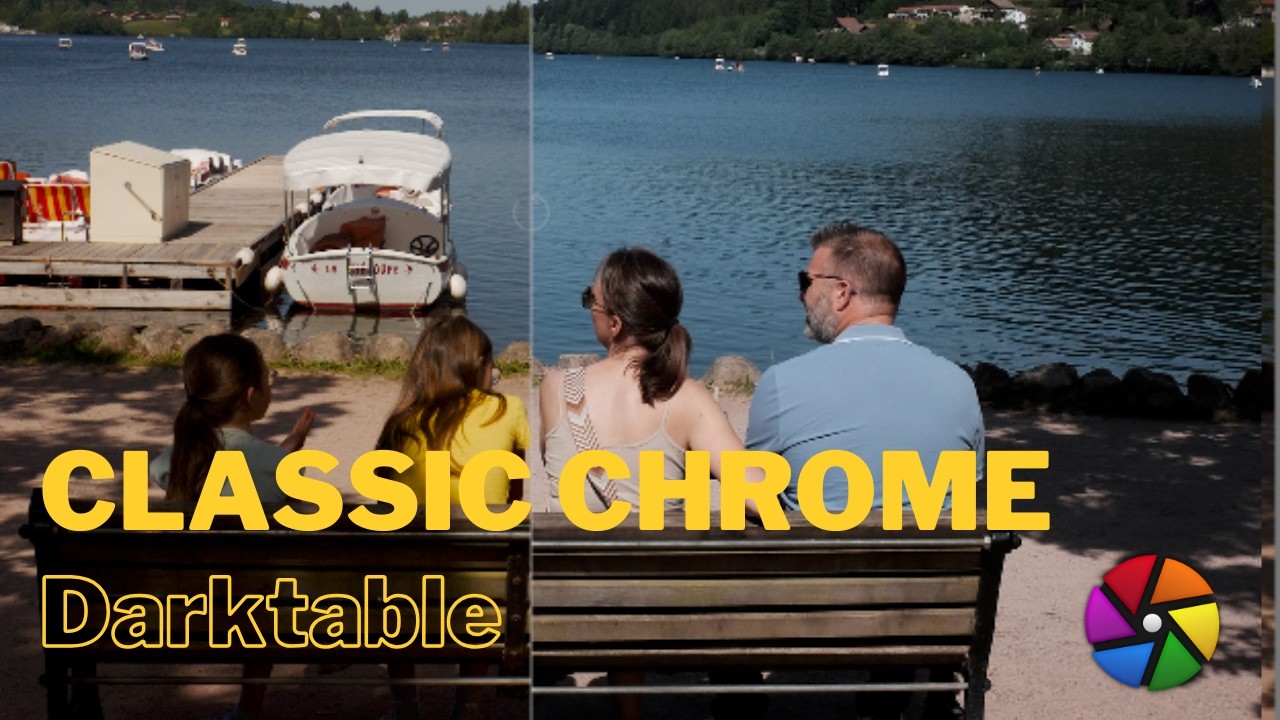
Watch the full tutorial What is Classic Chrome? Classic Chrome is Fujifilm’s most distinctive film simulation — a slightly cool, desaturated look that evokes magazine photography from the 1980s and 90s. It’s not based on a real film stock but draws inspiration from Kodak chrome slide film. The result is immediately recognisable: muted greens, cooler reds, retained blues, and slightly compressed highlights that give bright areas a matte quality. ...

June 28, 2026 · 3 min · Marien
Natural Skin Tones in Darktable (AgX) — The Open Source Portrait

Natural Skin Tones in Darktable (AgX) — The Open Source Portrait

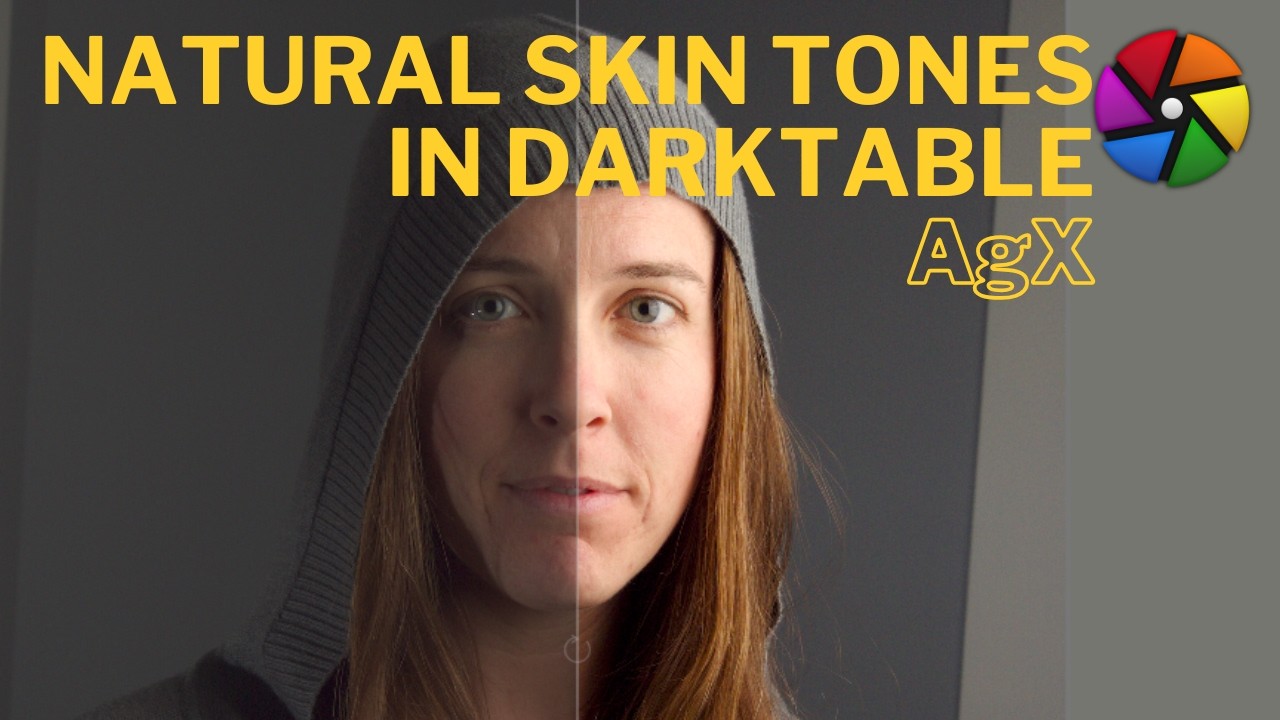
Watch the full tutorial The Problem: Orange Skin in Darktable One of the most common complaints from photographers migrating from Lightroom is that skin tones in Darktable drift orange — and if you push further, they shift toward magenta. It’s not a flaw in Darktable, it’s a calibration and workflow issue. This tutorial walks through exactly how to fix it. ...

June 28, 2026 · 4 min · Marien
Darktable Export for Instagram

Why Your Darktable Exports Look Wrong on Instagram — and How to Fix It

Watch the full tutorial The Problem: Why Darktable Exports Look Wrong on Instagram You’ve spent time tweaking your image in Darktable — colour grading, a Classic Chrome simulation, careful exposure work — and then you export and upload to Instagram. And it looks terrible. Washed out, wrong colours, nothing like what you saw on screen. ...

June 28, 2026 · 3 min · Marien