Watch the full tutorial
The Problem: Orange Skin in Darktable
One of the most common complaints from photographers migrating from Lightroom is that skin tones in Darktable drift orange — and if you push further, they shift toward magenta. It’s not a flaw in Darktable, it’s a calibration and workflow issue. This tutorial walks through exactly how to fix it.
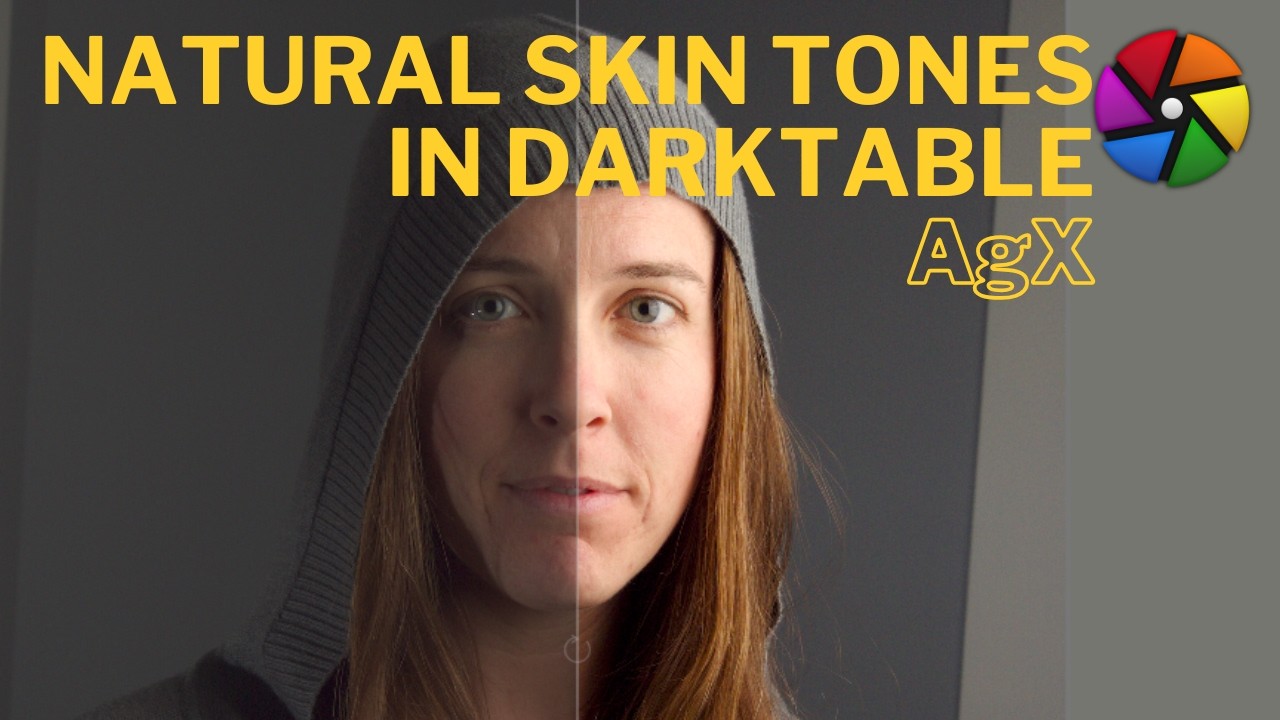
The practice image is the Open Source Portrait by Pat David, shot in 2013 and released under a Creative Commons licence. It’s a simple, well-suited image for this kind of work — a single subject against a neutral grey background, slightly underexposed, with the kind of orange skin drift that makes it a perfect teaching tool. Download it and follow along.
Step 1: Fix Your White Balance First
Before touching anything else, get the white balance right. This is foundational — every colour decision you make after this builds on it.
In Darktable, white balance should be handled in the Colour Calibration module, not the legacy White Balance module. Set the White Balance module to its default passthrough and do all your white balance work in Colour Calibration.
The Open Source Portrait has a large neutral grey area in the background — use it. Pick the grey with the colour picker in Colour Calibration and your greys will be immediately neutral. For skin tones specifically, a slightly warmer white balance than pure neutral tends to work better — pick from a slightly warmer area of the grey rather than the coolest part. The difference is subtle but it sets a better foundation for skin.
Step 2: AgX Tone Mapping
With white balance sorted, move to AgX as your tone mapper. As always — only one tone mapper active at a time. AgX, Sigmoid, and Filmic RGB cannot be combined.
The starting workflow:
- Apply the 6mm Smooth preset (new in Darktable 5.6)
- Click Auto-tune Levels — this maps the brightness of your specific image automatically
- Check the highlight clipping indicator and pull down the black level slightly if needed
At this point, with just white balance and AgX set up correctly, you should already see a meaningful improvement in the skin tones — without having touched anything skin-specific yet.
Step 3: RGB Primaries — Where the Real Fix Happens
This is the core of the skin tone correction. Inside AgX, go to the Primaries tab. Enable High Quality Processing first — this renders the image as it would look exported, giving you accurate feedback.
Skin tone issues in Darktable live almost entirely in the red channel. Leave green and blue alone and focus here:
Red Attenuation (Before Tone Mapping): This slider controls how much red is preserved. Push too far right and skin becomes pale and desaturated. Too far left and you get the orange cast. Find the balance — you’re looking for natural, not painted.
Red Rotation (Before Tone Mapping): Rotates the red hue between yellow (right) and magenta (left). To counter the orange cast, rotate slightly toward red/magenta. Toggle the module on and off to compare — the difference should be clearly visible in the skin highlights.
After Tone Mapping sliders: These preserve your colour corrections in the midtones and shadows while letting the highlights breathe. Use them to bring back warmth in the hair and shadows without re-introducing orange in the skin highlights.
Step 4: Fine Tuning in the Look Tab
Back in the AgX Look tab, you can make small adjustments to saturation. Staying at 100% is usually fine — desaturate slightly only if the result feels too vivid. Keep changes minimal here; the heavy lifting is done.
The Result
Toggle AgX on and off and you’ll see clearly what the module is doing: taking an underexposed, orange-drifting image and producing natural, readable skin tones without any skin-specific masking or retouching.
If you want to go further — fixing stray hairs, fine-tuning local colour with the Colour Equaliser, or adding a final polish with Colour Balance RGB — those are all valid next steps. But if your exposure is right, your white balance is correct, and your AgX Primaries are dialled in, you already have a strong, clean portrait.
Key Takeaways
- Fix white balance in Colour Calibration, not the legacy White Balance module
- Use a slightly warm white balance pick for skin — not pure neutral grey
- AgX Primaries → Red channel is where orange skin drift is corrected
- Red Attenuation and Red Rotation work together — adjust both
- High Quality Processing in the Primaries tab gives you accurate preview feedback
- One tone mapper only — AgX, Sigmoid, or Filmic RGB, never two at once