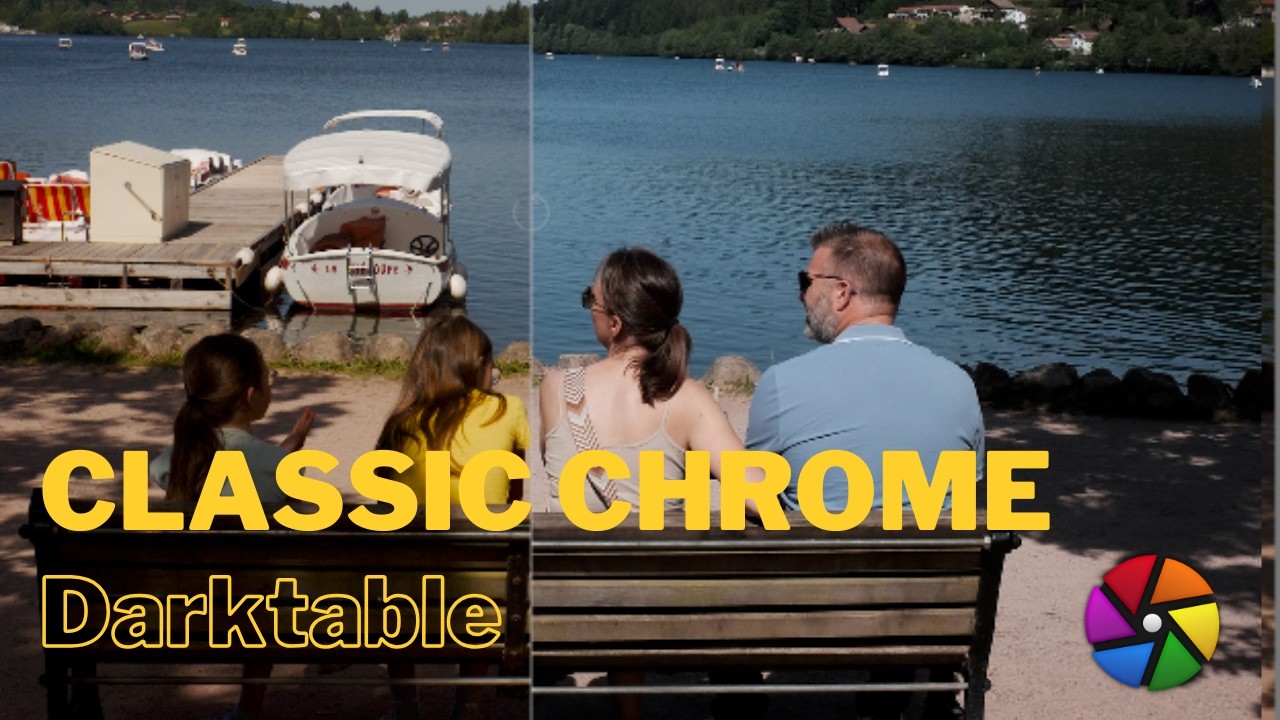
Watch the full tutorial
What is Classic Chrome?
Classic Chrome is Fujifilm’s most distinctive film simulation — a slightly cool, desaturated look that evokes magazine photography from the 1980s and 90s. It’s not based on a real film stock but draws inspiration from Kodak chrome slide film. The result is immediately recognisable: muted greens, cooler reds, retained blues, and slightly compressed highlights that give bright areas a matte quality.
If you shoot Fujifilm and want to replicate that JPEG look on your RAW files in Darktable — or if you shoot any other camera and want that aesthetic — this tutorial covers it with just three modules. No LUT imports, no external plugins, no files to download.
The Three-Module Approach
1. AgX — Tone Mapping and Highlight Compression
Start with AgX as your tone mapper — as always, only one tone mapper active at a time (AgX, Sigmoid, or Filmic RGB, never two together).
Apply auto-tune levels to get a good baseline, then open the advanced curve parameters and compress the highlights slightly. This replicates the characteristic matte, tamed highlight quality of Classic Chrome. Keep the AgX adjustments minimal — its job here is tone mapping, not colour work.
2. RGB Primaries — The Core Colour Shift
This is where the Classic Chrome look is really built. The RGB Primaries module lets you shift the hue and purity of each colour channel independently — and Classic Chrome is fundamentally about an asymmetric desaturation:
Red channel:
- Shift hue slightly toward magenta
- Reduce purity to cool and desaturate the reds
Green channel:
- Shift hue toward yellow
- Reduce purity significantly — this is the most dramatic change. Those bright greens become khaki, olive, muted. It’s the defining characteristic of Classic Chrome.
Blue channel:
- Shift hue toward blue
- Slightly increase purity — unlike reds and greens, blues are preserved and even enhanced
Toggle the RGB Primaries module on and off to see the difference clearly: greens shift from vivid to khaki, skin tones cool down, and blues hold their ground. That asymmetry is the essence of the look.
3. Colour Balance RGB — Final Polish
With the colours shifted and desaturated, use Colour Balance RGB on the master channel to bring the image back to life:
- Increase vibrance slightly
- Add a touch of contrast
- Boost saturation modestly
- Adjust highlight brilliance to taste
The goal is to restore some punch without warming the image back up. Classic Chrome is desaturated but not flat — there’s still life in it.
The Workflow Summary
| Module | Purpose |
|---|---|
| AgX | Tone map + compress highlights |
| RGB Primaries | Desaturate greens, cool reds, hold blues |
| Colour Balance RGB | Restore vibrance and contrast |
A Note on Matching the In-Camera JPEG
You won’t get a pixel-perfect match to the Fujifilm in-camera JPEG — Fuji’s own recipe is proprietary and there’s a slight rendering difference between how Darktable handles RAW versus JPEG. But you’ll get very close, and more importantly you’ll understand exactly what each adjustment is doing rather than applying a black-box preset.
This approach also works on any camera, not just Fujifilm. The three modules are universal — just adjust the RGB Primaries sliders to taste for your specific images.
Save It as a Style
Once you’re happy with your result, save these three module settings as a Darktable style so you can apply it to any image with one click. You can also export it as a .dtstyle file to share or back up.